

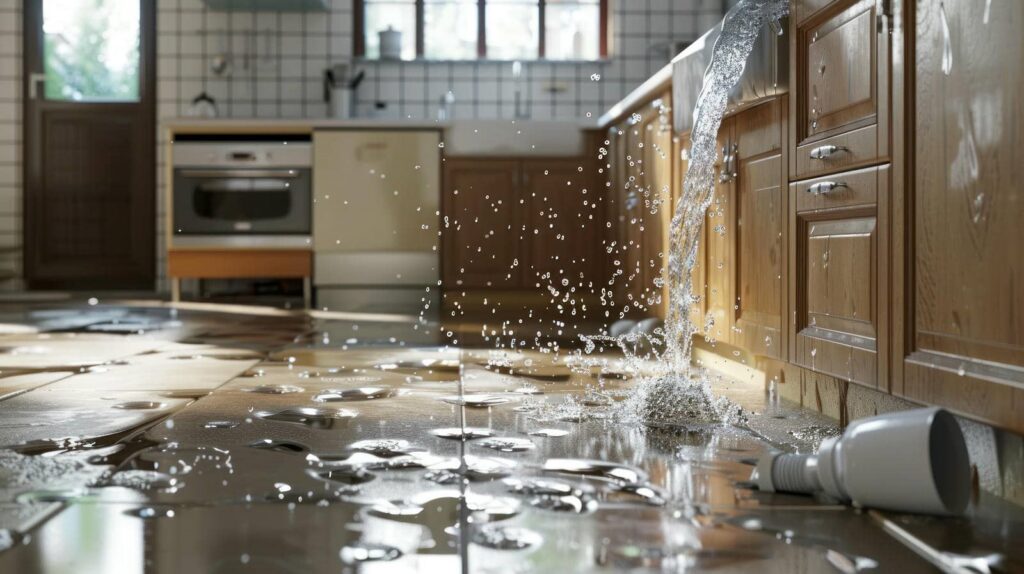
Burst pipes can cause thousands of dollars in damage in minutes, and knowing what to do after a burst pipe flooding can make all the difference. Your first moves can limit the loss—start by shutting off the main water supply and cutting power in affected areas, then document every surface before you touch a thing. After that, you’ll need to remove standing water, protect salvageable items, and dry hidden moisture fast—because what happens next often decides how much of your property you can actually save.
Key Takeaways
- Shut off the main water supply and electricity in affected areas if it is safe to do so.
- Document all damage with photos, videos, and notes for your insurance claim.
- Remove standing water quickly using a wet vac, pump, or mop.
- Move salvageable belongings to dry, elevated areas and discard contaminated items.
- Dry the area thoroughly with fans, dehumidifiers, and open windows, then arrange repairs promptly.
Shut Off Water and Power Right Away
As soon as you notice a burst pipe, shut off the main water supply to stop additional flooding, then turn off electricity to any affected areas if it’s safe to do so.
If you can’t reach the panel without stepping in water, stay out and wait for a qualified electrician. Close fixture valves too, if they’re accessible, to isolate the leak faster.
This is the first step in what to do after a burst pipe flooding your property, because every minute matters.
Wear waterproof boots and gloves, and avoid standing water near outlets, appliances, or HVAC equipment.
If you live with others, tell everyone the water and power are off so no one resets them. Acting quickly helps your household stay safer and supports faster cleanup, drying, and repair.
Document Burst Pipe Damage for Insurance
Before you start cleanup, document the burst pipe damage for insurance with clear photos and video.
Capture wide shots of each affected room, then move in for close-ups of walls, floors, ceilings, cabinets, appliances, and visible plumbing failures.
Record water lines, stains, warped materials, and any damaged personal items. Note the date, time, and source of the leak if you can identify it.
Keep receipts for emergency services, tarps, and supplies, since insurers often ask for proof of loss.
Back up files to cloud storage or email them to yourself so they’re safe.
Create one folder for images, video, and notes, and label everything clearly.
Staying organized helps you work with adjusters confidently and keeps your claim on track as part of a prepared, resilient community.
Remove Standing Water and Save Belongings
Once you’ve documented the damage, move quickly to remove standing water and protect salvageable items. Use a wet vac, submersible pump, or heavy-duty mop to clear water from the lowest areas first.
Shut off power to affected circuits before you enter pooled water. As you work, sort belongings fast so you can save what still feels like yours.
- Move dry furniture, rugs, and boxes to a clean, elevated spot.
- Bag wet textiles and paper goods separately to prevent cross-contamination.
- Clean mud or debris off durable items, then place them where air can circulate.
Discard anything soaked with sewage or visibly moldy. Label rescued items by room so you can reconnect with your space during restoration.
Dry Out Walls, Floors, and Hidden Moisture
Use fans, dehumidifiers, and open windows to pull moisture out of walls, floors, and trim as soon as the standing water is gone. You’ll speed drying by moving air across wet surfaces and keeping humidity low.
Lift rugs, baseboards, and furniture pads so trapped water can escape. Check drywall, insulation, and subfloors for cool or damp spots, since hidden moisture often lingers after the surface looks dry. Use a moisture meter if you have one, and track readings each day until they drop to normal.
Stay alert for swelling, soft spots, or musty odors, because those signs mean you still need drying time. Work steadily, and you’ll help protect your space and keep your home ready for the next step.
Repair the Pipe and Restore Damage
After the area is dry, repair the burst pipe and any damaged fittings, joints, or shutoff valves right away to stop further leaks. If you’re unsure, call a licensed plumber in your community and keep the water off until they finish.
Then restore damaged materials in a controlled order.
- Replace soaked drywall, insulation, or flooring that won’t dry fully.
- Seal minor surface damage with approved patching compounds and primer.
- Test plumbing pressure, then inspect for hidden drips over the next 24 hours.
Match replacement parts to your pipe type and code requirements. Sanitize affected surfaces, run dehumidifiers, and document repairs for insurance.
When you handle the fix methodically, you protect your property and stay connected to a team that knows recovery matters.
Final Thoughts
So, when your pipe decides to audition as an indoor waterfall, you don’t get to panic dramatically—you shut off the water and power, photograph the chaos, and start evacuating soaked belongings like a very grim logistics manager. Then you pump out the water, dry everything fast, and repair the damage before mold moves in rent-free. If you document each step, your insurance adjuster may even pretend to be impressed.