
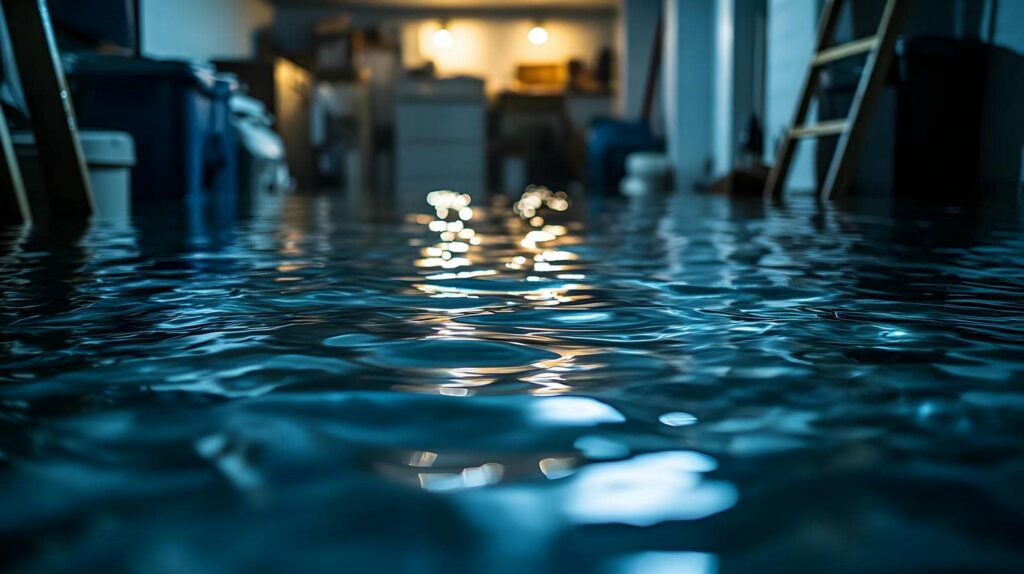
Water mitigation can range from a few hundred dollars to well over $10,000, depending on how much water you’re dealing with and how long it’s been there. You’ll pay more when contamination is involved, access is difficult, or drywall and flooring need removal. Cleanup, drying, and repairs all stack onto the bill in ways that aren’t always obvious, so the real cost can rise fast once the damage is assessed.
Key Takeaways
- Water mitigation costs depend on extraction, drying, dehumidification, and moisture monitoring needed to stop further damage quickly.
- Small clean-water incidents usually cost less, while multi-room or severe losses can reach the high thousands.
- Contaminated water, mold risk, and long-standing moisture increase costs by requiring stricter containment and more labor.
- Hard-to-reach areas, specialty materials, and larger affected spaces raise equipment and technician charges.
- Final bills increase when repairs require drywall, insulation, flooring, or structural replacement beyond basic drying.
What Water Mitigation Services Include
Water mitigation services typically include rapid water extraction, moisture inspection, drying and dehumidification, and targeted cleaning to prevent further damage after a leak, flood, or pipe burst.
You’ll also get containment, demolition of unsalvageable materials, and monitoring with meters and thermal tools to verify hidden moisture is gone.
Technicians document affected areas, set up air movers, and adjust equipment until structural materials reach acceptable dry standards.
These steps help you protect flooring, drywall, insulation, and contents before mold can spread.
When you understand the scope, you can better evaluate the cost of water mitigation services and compare providers with confidence.
A good team explains each task, coordinates access, and keeps you informed, so you feel supported while your property is stabilized.
Average Water Mitigation Costs by Damage Level
A small clean-water incident, such as a minor appliance leak, often costs far less to mitigate than a category 2 or 3 loss because technicians may only need localized extraction, drying, and monitoring.
In contrast, a moderate event can require several days of equipment use, more demolition, and repeated moisture checks. You’ll usually see minor losses in the low hundreds to low thousands, especially when crews contain the affected area quickly.
Moderate damage often lands in the mid-thousands, since affected materials and drying time increase. Severe losses can move into the high thousands or more when water reaches multiple rooms or structural cavities.
Moderate damage often lands in the mid-thousands, while severe losses can rise quickly when water spreads beyond one room.
You’re not alone in sorting these numbers; ask for a written scope, daily equipment charges, and a moisture-readings log so you can compare estimates confidently and understand where your money’s going.
What Makes Water Mitigation More Expensive
Even a “simple” water loss can become expensive when the job moves beyond basic extraction and drying. You’ll pay more when water has sat long enough to wick into framing, insulation, or subflooring, because crews must open assemblies and verify hidden moisture.
Costs also rise if the source is contaminated, since technicians need stricter containment, PPE, and disposal protocols. Large affected areas, multi-room losses, and hard-to-access spaces add labor and equipment time.
Specialty materials like hardwood, plaster, or built-in cabinetry often need careful handling to avoid further damage. If you’re dealing with mold risk, odor control, or structural concerns, the scope expands fast.
You’re not just drying a room—you’re protecting your property, your health, and your peace of mind.
How Cleanup and Drying Costs Are Calculated
Cleanup and drying costs usually start with a technician’s scope of work, then build from the specific labor, equipment, and materials your loss requires.
You’ll typically see charges for inspection, moisture mapping, water extraction, demolition of unsalvageable contents, and daily monitoring.
Technicians calculate labor by crew size, hours onsite, and the complexity of access, while equipment costs depend on how many air movers, dehumidifiers, and HEPA filters they need to keep your structure dry and safe.
Materials can include plastic containment, antimicrobial agents, and disposal bags.
Your bill also reflects the drying goal: faster evaporation in a small area costs less than prolonged drying in a saturated space.
Ask for line-item pricing so you can compare scopes confidently and stay in control.
Repair Costs That Affect Your Final Bill
Your final bill rises when the repair scope extends beyond drying and cleanup to structural work like drywall removal, subfloor replacement, or framing repair.
You’ll also pay more when water-damaged materials need full replacement instead of spot repair, especially for insulation, flooring, cabinetry, or finishes that can’t be restored.
The more components that require labor and new materials, the higher your mitigation cost will be.
Structural Repair Scope
Once drying ends, the repair scope often becomes the biggest variable in your final water mitigation bill, because technicians may need to replace drywall, insulation, baseboards, flooring, subflooring, or even framing that sustained irreversible damage.
You’ll usually pay more when damage reaches load-bearing members, multiple rooms, or concealed cavities that require demolition and reconstruction. Crews must document what they remove, verify structural stability, and coordinate permits or inspections when local codes demand them.
If they find rot, swelling, or delamination, they’ll widen the repair area to restore a safe, consistent finish. That’s why a small visible stain can hide a much larger structural job.
When you’re reviewing estimates, ask for line-item scopes, labor hours, and restoration boundaries so you can compare bids confidently with your team.
Material Replacement Needs
Material replacement often drives the next layer of cost after demolition and drying, because you’re not just paying to remove damaged components—you’re also paying to match and install new ones.
You may need drywall, baseboards, insulation, flooring, cabinetry, trim, or subfloor materials, and each item adds labor, disposal, and finishing time. If the water reached hidden areas, you’ll likely replace vapor barriers, underlayment, or damaged framing sheathing too.
Matching existing materials can raise costs when you need custom paint, discontinued tile, or specialty wood. Your bill also grows if you choose upgraded products instead of standard-grade replacements.
To stay on budget, document every affected surface, ask for itemized estimates, and confirm whether your crew can source equivalent materials quickly so your space feels whole again.
How to Lower Water Mitigation Costs
You can lower water mitigation costs by acting fast, limiting the spread of moisture, and focusing on the repairs that truly protect the structure.
Shut off the source, document damage, and call a certified provider before mold starts. You’ll save more when you move furniture, remove rugs, and improve airflow yourself, because technicians can begin extraction sooner.
Ask for a detailed scope so you’re not paying for unnecessary demolition or repeated drying passes. If you can, coordinate with your insurer early and confirm coverage limits, deductibles, and approved vendors.
Compare estimates from reputable local teams, but don’t sacrifice equipment quality or moisture mapping.
When you stay organized and informed, you protect your home and keep your crew working efficiently together.
Frequently Asked Questions
Do Insurance Policies Usually Cover Water Mitigation Services?
Usually, your insurance covers water mitigation if the damage is sudden and accidental, like a burst pipe. You’ll need prompt documentation, policy review, and possible deductibles, since gradual leaks or floods often aren’t covered.
How Quickly Should Water Mitigation Begin After a Leak?
Immediately, because even a tiny delay can trigger a tidal wave of damage. You should start water mitigation within 24 hours, ideally sooner, to reduce mold, structural decay, and moisture spread.
Are Emergency Water Mitigation Services More Expensive at Night?
Yes, you’ll usually pay more at night because you’re calling for after-hours dispatch, overtime labor, and faster mobilization. You can reduce costs by documenting damage, shutting off water, and contacting providers immediately.
Can I Stay in My Home During Water Mitigation Work?
Yes, you can sometimes stay home during water mitigation, but you’ll need to avoid affected areas, manage noise, and follow safety guidance. If contamination, structural damage, or heavy equipment’s involved, you may need to leave temporarily.
How Long Does the Water Mitigation Process Typically Take?
You’ll usually need 3–5 days for typical water mitigation, but severe flooding can take a week or more. You’ll dry materials, remove damaged contents, and monitor moisture until readings return to safe, stable levels.
Wrap-Up
When you face water damage, you should act fast, because time is money. The longer water sits, the higher your mitigation, drying, and repair costs will climb, especially if contamination or hidden damage is involved. You can lower your bill by shutting off the source, documenting losses, and calling a qualified provider right away. In this case, an ounce of prevention is worth a pound of cure, and quick action helps protect your property and budget.