
Soot can cling to walls like a shadow that won’t let go, and you’ll need the right soot damage approach to remove it safely. Put on gloves, safety glasses, and a respirator, then use a dry-cleaning sponge or HEPA vacuum to lift loose residue without smearing it. Test a hidden spot first, protect nearby surfaces, and keep the room ventilated—because the next step can make all the difference.
Key Takeaways
- Ventilate the room, wear gloves, goggles, and a respirator, and protect floors with drop cloths before cleaning soot.
- Test a hidden spot first with a dry microfiber cloth or soot sponge to check for paint damage or color transfer.
- Start by vacuuming or gently sponging loose soot with dry-cleaning methods to avoid smearing residue.
- Use the right cleaner for the residue type, working in light passes without scrubbing to protect paint and drywall.
- Call professionals if soot is oily, odor persists, paint blisters, or walls show warping, peeling, or deep contamination.
Common Causes of Soot on Walls
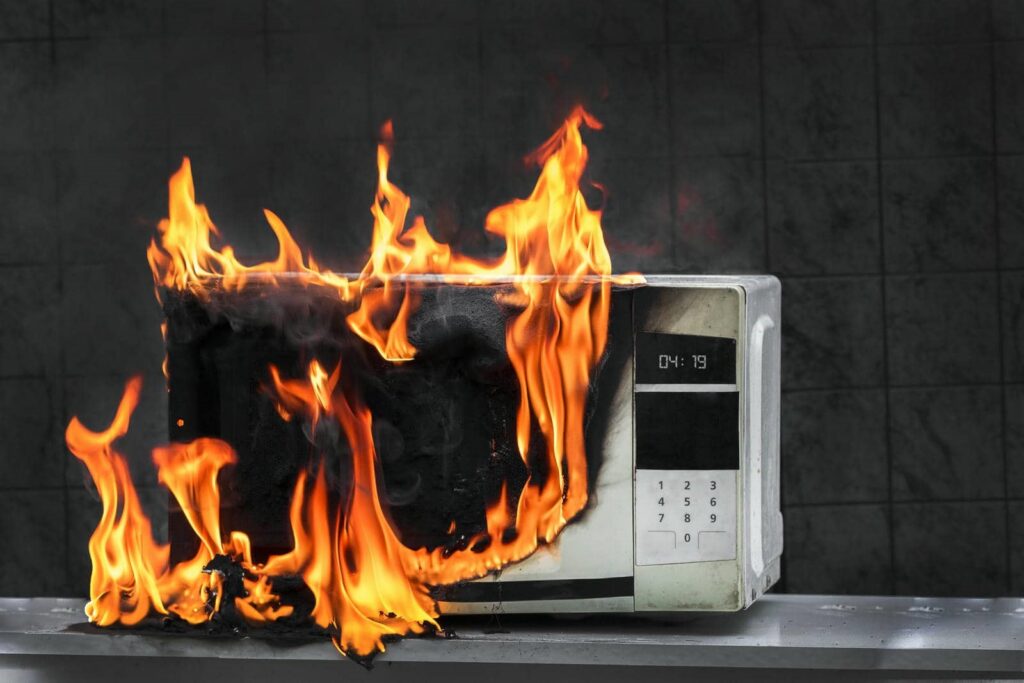
Soot on walls usually comes from incomplete combustion, so you’ll often see it after a house fire, from malfunctioning furnaces or water heaters, clogged chimneys, candle use, or cooking flare-ups.
You should treat each source as a different risk to your home and health. Fire residue can include acidic particles, while furnace or chimney soot may signal draft problems or carbon monoxide exposure.
Kitchen soot often spreads as a greasy film that bonds to paint. If you’re learning how to clean soot damage from walls, first identify the source so you can stop it before cleanup starts.
You’re not dealing with a cosmetic stain alone; you’re protecting your space, your family, and your ability to restore the room safely.
Gather Soot Cleaning Supplies
Before you clean soot damage from walls, gather the right tools, including a dry-cleaning sponge, microfiber cloths, a HEPA vacuum with a brush attachment, and a bucket for disposal.
You’ll also need protective safety gear such as gloves, safety glasses, and a respirator rated for fine particulates.
Using the correct equipment helps you limit soot spread and reduce inhalation and skin exposure.
Essential Cleaning Tools
Start by gathering the right soot-cleaning supplies so you can work safely and avoid grinding residue deeper into the wall surface. You’ll need a dry soot sponge, microfiber cloths, a HEPA vacuum with brush attachment, a bucket, and a mild wall cleaner or trisodium phosphate substitute if your paint allows it.
Use a soft-bristle brush for corners and textured areas, plus clean water for rinsing. Keep several cloths separate: one for dry pickup, one for washing, and one for final wiping. A plastic drop cloth helps contain debris and keeps your cleanup zone organized.
Choose tools that won’t shed lint or abrade paint. When your kit is ready, you’ll work more efficiently, stay in control, and move with the confidence of a crew that knows the job.
Protective Safety Gear
Put on the right protective gear before you handle soot-cleaning supplies, since soot can irritate skin, eyes, and lungs.
Wear nitrile gloves to block residue and cleaners from contacting your skin. Use safety goggles that seal at the edges so fine particles can’t reach your eyes. Choose an N95 respirator, or better, to reduce inhalation of airborne soot during dry wiping and vacuuming.
Wear long sleeves, long pants, and closed-toe shoes so you can work confidently and protect exposed skin. If you’re cleaning a large area, add disposable coveralls and a head covering to keep soot from spreading.
Keep your gear on until the room is stable and you’ve sealed waste bags. Your careful setup helps the whole cleanup team stay safer.
Test the Wall Before Cleaning
Before you clean, spot-test a small hidden area with your chosen cleaner.
Watch for color transfer, smearing, or residue that signals paint instability. If the finish softens, lifts, or dulls, stop and use a gentler method or call a professional.
Spot Test First
Even a small area can reveal how your wall finish will react, so choose an inconspicuous spot and test the cleaning method there first.
Use a white microfiber cloth with the same cleaner, dilution, and pressure you plan to apply. Work lightly, then pause and inspect the patch for soot transfer, discoloration, streaking, or residue.
If the surface looks unchanged and the cloth lifts dark soil without spreading it, you’re on the right track. If you notice smearing or dulling, stop and adjust the approach before you continue.
Keep the test area small, and let it dry fully so you can see the true result. This careful check helps you protect your space and clean with confidence together.
Check Paint Stability
Check the paint’s stability before you clean by rubbing a damp white cloth on a hidden area and watching for color lift, softening, or peeling. If the finish transfers, stop and choose a gentler method or call a professional. You’re protecting both the wall and your team’s safety.
- Test at baseboards, behind furniture, or inside a closet.
- Use minimal pressure and plain water first.
- Dry the area and inspect for bubbling or residue.
Stable paint should stay intact while soot loosens. If you see chalking, swelling, or tackiness, the coating may be failing and cleaning can worsen damage.
Keep the room ventilated, wear gloves, and work slowly. When your surface passes this check, you can move forward with confidence and stay with the group that restores walls safely.
How to Clean Soot From Walls
When soot settles on walls, you should remove it with dry-cleaning methods first to avoid spreading the residue or driving it deeper into the surface.
Put on gloves, a respirator rated for fine particles, and eye protection before you begin. Protect the floor with clean drop cloths, then use a soot sponge or vacuum with a HEPA filter to lift loose particles from the top down.
Work in short, gentle passes and rotate the sponge to a clean side often. Don’t scrub, because pressure can smear carbon and damage paint.
Keep the room ventilated, and wash your hands after handling contaminated tools. If you’re working methodically, you’ll help your space recover safely and keep the wall finish intact.
Remove Stubborn Soot Stains
If dry cleaning leaves a dark film behind, you can move to a mild wet-cleaning solution to break down stubborn soot stains without forcing residue deeper into the wall.
Mix a few drops of dish soap with warm water, then test it on a hidden spot first. Use a soft sponge, wring it until barely damp, and work in small sections with light pressure. You’re aiming to lift soot, not scrub it in.
- Wear gloves and a mask for safer handling.
- Change your cleaning water when it turns gray.
- Use clean, overlapping strokes to control buildup.
If the stain persists, repeat the same pass instead of saturating the surface.
Stay patient; careful technique helps your wall recover while keeping your space safe and calm.
Rinse Carefully and Let Walls Dry
Once the soot lifts, remove any soap residue with a second sponge dampened with clean water and wrung out well.
Work in small sections, and change the rinse water often so you don’t spread dissolved soot back onto the wall. Keep pressure light; you’re clearing film, not scrubbing paint.
After rinsing, blot the surface with a clean, dry microfiber cloth to remove surface moisture.
Then open nearby windows if conditions allow and run a fan aimed across the room, not directly at the wall, to support even drying.
Check for damp spots along seams, trim, and outlets, and leave those areas untouched until they’re fully dry.
When your walls dry evenly, you and your home are safer, and the cleaned surface is ready for a final inspection.
Prevent Soot From Coming Back
To keep soot from returning, fix the source of the smoke first and confirm the area is fully safe before you reoccupy it. You’ll protect your walls by controlling ignition risks, improving ventilation, and keeping surfaces free of residue.
Check appliances, vents, and wiring regularly so you and your household stay ahead of hidden smoke sources. Seal minor gaps that let dirty air recirculate, and maintain filters on HVAC units to reduce particle spread.
- Test detectors monthly.
- Clean grease and dust buildup.
- Use fuel-burning devices only as directed.
After cleanup, monitor the room for odors, discoloration, or film. If you notice fresh soot, stop using the space and reassess conditions with your team or family before continuing normal use.
When to Call Soot Removal Pros
When soot covers a large area, has penetrated porous materials, or comes from a fire, HVAC event, or electrical fault, you should call a soot removal professional before attempting more cleaning.
You need experts when soot is oily, acidic, or linked to smoke odor that won’t lift with light wiping. They use HEPA filtration, negative air control, and alkaline or solvent-based cleaners matched to the residue type.
If you see blistered paint, warped drywall, or recurring black film, stop and protect your space.
Professionals also test surfaces, confirm hidden contamination, and reduce cross-contamination risks. That support helps you stay safe, preserve materials, and get your home back to a clean, healthy condition with confidence.
Recap
By following the right steps, you can clean soot from walls safely without spreading damage or harming the finish. Wear your PPE, test a hidden spot first, and use a dry sponge or HEPA vacuum with light pressure. If you’re tempted to scrub harder, don’t—aggressive cleaning can embed soot or strip paint. Let the walls dry fully, then monitor for recurring residue. If stains persist, call a soot-removal professional.