
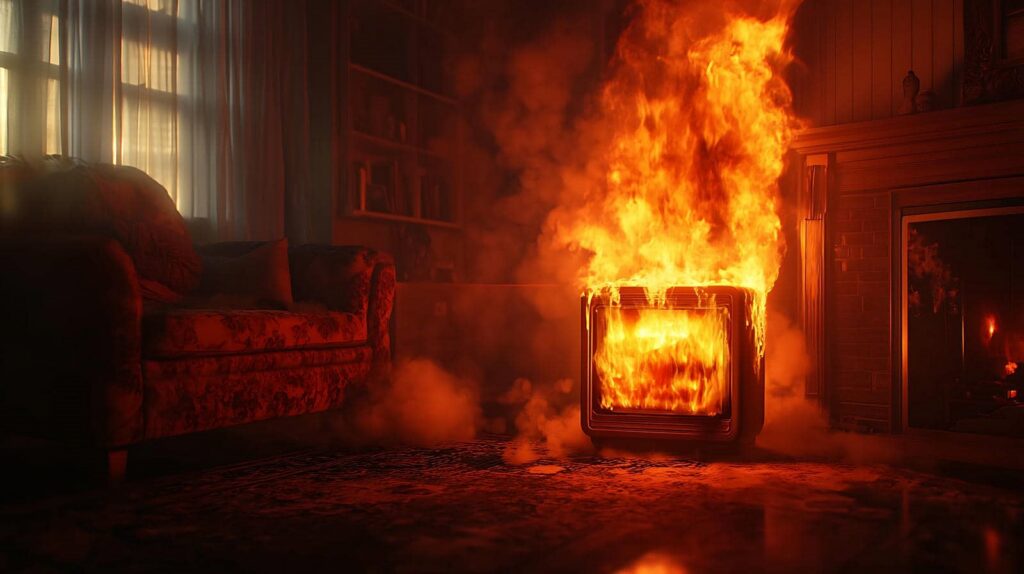
After a fire, knowing the smoke damage cleanup process after fire can help you act quickly and protect the area before cleanup begins. You’ll remove soot carefully, clean affected surfaces, and address odors before they settle deeper into walls, fabrics, and hidden spaces. Some damage is obvious, but some isn’t, and that’s where the process gets more complex. The right sequence can prevent bigger problems and restore the space more effectively.
Key Takeaways
- Assess smoke damage, safety hazards, and hidden contamination before starting cleanup.
- Secure the fire-damaged area by shutting off utilities, restricting access, and covering openings.
- Remove loose soot with HEPA vacuuming and gentle wiping, especially on hard surfaces and fabrics.
- Clean surfaces, ventilate the space, and dry moisture thoroughly to reduce odors and prevent further damage.
- Call professionals if smoke penetrates porous materials, odors persist, or damage is widespread.
Assess Smoke Damage and Safety Risks First
Before you begin cleanup, assess the full extent of the smoke damage and any safety risks in the area. You’ll identify soot patterns, discoloration, warped materials, and lingering odors so you can judge how deeply smoke penetrated surfaces.
Check for hidden contamination in vents, insulation, fabrics, and cavities, since smoke can travel beyond visible staining. Document damage with photos and notes to guide the smoke damage cleanup process after fire and to support clear decisions.
If you detect unstable materials, electrical hazards, or heavy residue, pause and bring in qualified help. This first evaluation helps you choose the right methods, protects your health, and gives you a confident starting point.
You’re not handling this alone; a careful assessment sets your team up for effective recovery.
Secure the Fire-Damaged Area
Once you’ve assessed the smoke damage and identified immediate hazards, secure the fire-damaged area to prevent further contamination and injury.
You should shut off affected utilities only if it’s safe and approved, then isolate the space with barriers, tarps, or temporary closures.
Lock or post entrances so only authorized personnel enter, and place clear warning signs at access points.
If windows, doors, or roof openings are compromised, cover them promptly to limit weather intrusion and airborne debris.
Keep the area dry, stable, and ventilated as needed for safe entry.
Document restricted zones and communicate the plan to everyone on site.
When you control access early, you protect your space, support recovery, and give your cleanup team a safer, more organized environment.
Remove Loose Soot Without Spreading It
Start by dry vacuuming loose soot with a HEPA-filtered unit to capture fine particles before they migrate.
You’ll need to use controlled, light passes and lift debris away rather than rubbing it into the surface. This approach limits smearing, protects the substrate, and keeps cleanup more efficient.
Dry Vacuuming First
Begin by dry vacuuming the affected surfaces to lift loose soot without grinding it deeper into the material or pushing it into clean areas.
You’ll work slowly, holding the nozzle just above the surface so suction can capture fragile particles before they smear. Use steady passes in one direction, and overlap each stroke to avoid missed residue.
Focus on hard surfaces, trim, vents, and fabric edges where soot settles first. If you rush, you can streak stains and make later cleaning harder, so keep your motion controlled.
Empty the vacuum as needed to preserve pickup strength and prevent recirculation of debris.
This first step helps you protect your space, reduce contamination, and prepare every surface for the next phase of restoration with confidence.
Use HEPA Filtration
After dry vacuuming, switch to a HEPA-filtered vacuum to capture fine soot without releasing it back into the air.
You’ll remove microscopic particles that ordinary vacuums can’t hold, helping protect indoor air quality and keeping contamination controlled.
Use a clean attachment, check the seal, and empty the canister or bag only in a contained area.
Move methodically across surfaces so you don’t miss settled residue, and keep the nozzle close enough to collect loose debris efficiently.
This step matters because soot can drift onto already cleaned areas if you use unfiltered equipment.
With the right filter in place, you’re working alongside a proven restoration process that gives your space a safer, cleaner start.
Lift, Don’t Rub
Use gentle lifting motions to remove loose soot without grinding it into the surface. You’ll want a dry, soft sponge, microfiber cloth, or vulcanized soot sponge, depending on the material.
Work from the top down in light passes, and lift debris straight off the surface instead of scrubbing. If you rub, you can force oily particles deeper into paint, fabric, or wood grain, making cleanup harder and spreading contamination.
Replace or rotate your cleaning tool as soon as it loads up with residue. For textured or fragile areas, test a small section first and keep your pressure minimal.
This careful method helps you protect your home’s finishes and supports the rest of the smoke cleanup process. You’re not alone here; each precise step brings your space closer to safe, clean recovery.
Clean Walls, Ceilings, and Hard Surfaces
Start by removing loose soot from walls, ceilings, and other hard surfaces with a dry-cleaning sponge or HEPA vacuum, working from the top down to prevent streaking and redeposition.
Next, wash the surface with a pH-neutral cleaner mixed to the label’s ratio, using clean microfiber cloths or nonabrasive pads. You’ll want to change cloths often so you don’t spread residue back onto the finish.
Test painted, sealed, or laminated areas in a small spot first to confirm colorfastness. Rinse with clean water, then dry each section with a fresh towel to limit water marks.
For textured walls, use light pressure and short passes. When you work methodically, you protect the surface and help your space feel cared for again, one clean panel at a time.
Remove Smoke Odors From Rooms
Once the visible soot is removed, you can focus on the odor trapped in the room itself.
You should ventilate the space with clean outdoor air, then run HEPA filtration and activated carbon units to capture airborne particles and volatile compounds.
Odor molecules cling to porous dust, so you need to address the full air volume, not just surfaces.
Professionals often use thermal fogging or hydroxyl treatment to neutralize embedded smoke odors in a controlled way.
You can also replace HVAC filters and clean ducts if smoke traveled through the system.
Keep humidity low and maintain airflow until the smell fades.
When you follow a structured process, you restore comfort and help everyone feel safe, settled, and at home again.
Save Fabrics, Furniture, and Personal Items
Before you discard anything, sort fabrics, furniture, and personal items by material, damage level, and salvageability. You’ll protect more when you handle each group with the right method.
Check upholstery, leather, wood, metal, and plastics for soot penetration, heat warping, staining, and odor retention. Bag loose textiles separately so soot won’t transfer.
For furniture, remove cushions, drawers, and detachable hardware, then document each piece before cleaning. Use manufacturer tags and care labels to guide your choices.
Wipe hard surfaces with a dry microfiber cloth first, then follow with approved cleaners. For heirlooms and essentials, isolate items that need specialty restoration.
You’re not alone in this process; steady sorting helps your space feel manageable and keeps recoverable belongings with your home.
Dry Out Moisture and Prevent Mold
Even after the visible soot is gone, moisture can linger in walls, floors, insulation, and contents, so you need to dry the affected areas quickly to prevent mold growth.
You should start ventilation, dehumidification, and controlled air movement as soon as it’s safe. Open pathways for airflow, remove wet materials, and monitor humidity so drying stays even and thorough.
Use moisture meters to track progress in structural materials and furnishings, and keep equipment running until readings return to acceptable levels.
If you act fast, you protect your home’s structure and the people who live there.
You’re not handling this alone; a coordinated drying plan helps your space recover cleanly and gives your household a healthier, more stable start after the fire.
Check for Hidden Smoke Damage
Smoke often travels beyond the obvious burn areas, so you need to check for hidden damage in cavities, attics, crawlspaces, HVAC systems, and behind wall coverings.
Use a bright flashlight, a moisture meter, and clean gloves to inspect framing, insulation, ducts, and trim for soot film, discoloration, or odor pockets.
Open access panels and remove vent grilles if needed, then document what you find so your cleanup stays organized.
Don’t ignore small signs; fine smoke particles can settle in concealed spaces and later spread smell or residue back into finished rooms.
Know When to Call Smoke Cleanup Pros
You should call smoke cleanup pros when soot has penetrated walls, ductwork, insulation, or porous materials, or when odors persist after basic cleaning.
If you see widespread discoloration, corrosion, or residue that keeps returning, the damage is likely beyond safe DIY limits.
Professionals can assess the extent, remove contaminants with specialized equipment, and restore indoor air quality more effectively.
Signs Of Severe Damage
How do you know when fire cleanup has gone beyond basic household repair? You’ll see severe damage when soot coats walls, ceilings, and hidden cavities in a thick, greasy film that won’t wipe away cleanly.
Look for warped framing, blistered paint, cracked drywall, and scorched insulation, since these signs point to heat exposure beyond the surface. If you notice persistent smoke odor after ventilation, or discoloration in HVAC vents and ductwork, contamination has likely spread through the structure.
You may also find residue inside cabinets, attics, or crawlspaces, showing that smoke traveled farther than you can easily reach. These conditions mean your home needs a thorough, professional assessment, so you can protect your space, restore safety, and feel confident your household is back where it belongs.
When DIY Isn’t Enough
When the damage extends beyond surface soot, DIY cleaning usually falls short because smoke residue can penetrate porous materials, HVAC systems, insulation, and hidden cavities.
You can wipe visible film, but odor molecules and acidic particles often stay embedded, causing ongoing corrosion and poor indoor air quality.
Call smoke cleanup pros when you see heavy staining, persistent odor, warped materials, or widespread contamination after a kitchen, electrical, or structural fire.
Technicians use containment, HEPA filtration, targeted detergents, hydroxyl or thermal deodorization, and moisture control to restore safe conditions.
They also verify hidden damage with inspection tools and specialized testing.
Bringing in experts isn’t giving up; it’s choosing a team that knows how to protect your home, your health, and your peace of mind together.
Recap
When you finish the smoke damage cleanup process, you may think the danger is gone—but hidden soot can still linger in walls, fabrics, and air ducts. If you act quickly, dry moisture, and verify every surface, you protect your home from more serious damage. Yet some risks stay out of sight. That’s why you shouldn’t hesitate to call smoke cleanup pros when odors, stains, or contamination refuse to leave.