

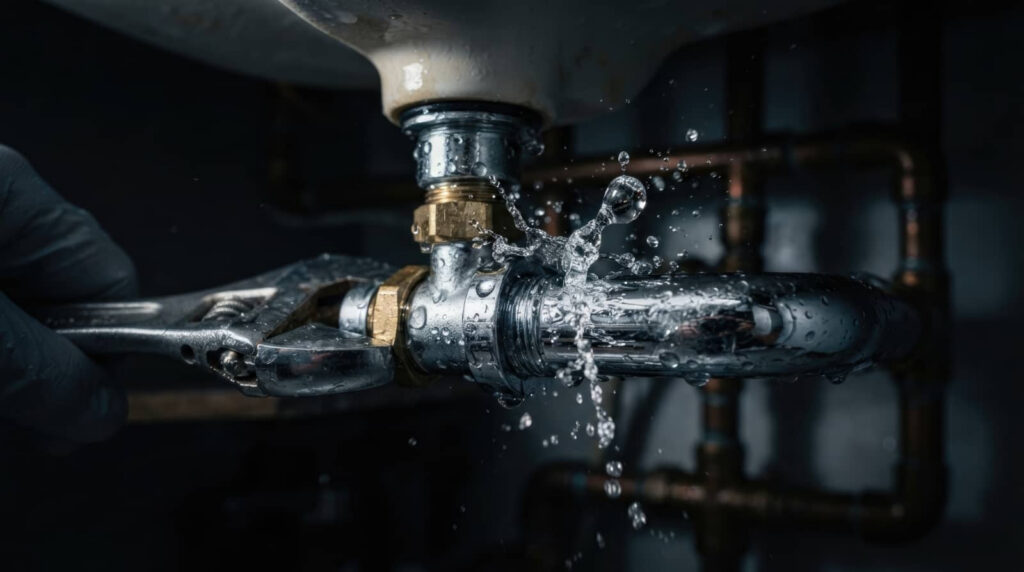
When a pipe bursts, you need to act fast to limit water damage and keep the area safe. Professional Burst Pipe Water Removal starts by stopping the source, then using pumps and wet vacuums to remove standing water quickly. After that, professionals clean, sanitize, and dry affected materials to help slow mold growth and prevent hidden deterioration. What you can’t see often causes the biggest problems, which is why the next steps matter just as much as the initial water removal.
Key Takeaways
- Shut off water and power immediately, then document the damage and keep people away from standing water.
- Professionals assess hidden moisture, map wet areas, and extract water using pumps, wet vacuums, and other equipment.
- Fast drying and antimicrobial treatment help prevent mold, odors, swelling, and long-term structural deterioration.
- Repairs include locating the pipe break, replacing damaged sections, sealing fittings, and pressure-testing the system.
- Restoration teams repair warped materials, coordinate licensed trades, and keep homeowners informed throughout the cleanup process.
What to Do Right After a Burst Pipe
When a pipe bursts, you should shut off the main water supply immediately to stop the flow and limit further damage.
Next, cut power to affected areas if water’s near outlets or appliances, then keep everyone clear of standing water.
You can place towels or buckets to contain minor leakage, but don’t lift damaged flooring or drill holes; that can worsen harm.
Document visible damage with photos for your records, and contact your insurer promptly.
Then call a trusted team for professional burst pipe water removal so your home gets fast, targeted help.
You’re not facing this alone; skilled specialists can assess moisture, protect materials, and guide you through the next steps with calm, coordinated support.
How Burst Pipe Water Removal Works
Professional burst pipe water removal starts with a rapid assessment of the affected areas, so technicians can locate standing water, hidden moisture, and the source of the failure.
You’ll see them map wet zones, protect unaffected rooms, and set up extraction equipment matched to your surfaces. They remove pooled water with pumps, wet vacuums, and weighted tools for carpet and padding, then check cavities, baseboards, and subfloors for trapped moisture.
Next, they monitor readings with moisture meters and thermal imaging to verify what’s still wet. You stay informed throughout, because clear communication helps you feel confident and included.
After extraction, they document conditions and coordinate the next cleanup steps, so your property gets a methodical response that’s thorough, controlled, and built around your needs.
Why Fast Drying Prevents More Damage
Fast drying limits how far water can spread into porous materials, so you reduce the risk of swelling, warping, and structural weakening. You also help stop moisture from moving behind baseboards, under flooring, and into wall cavities, where it can linger unseen.
When you act quickly, you protect materials that still have recovery potential and keep the affected area manageable.
- Lower moisture retention
- Reduce hidden spread
- Preserve dimensional stability
- Limit secondary deterioration
- Support faster recovery
You’re not dealing with this alone; a prompt response gives you a clear path forward. By removing moisture before it settles, you keep the damage from compounding and make the space safer for the next stage of restoration.
What Cleanup and Sanitizing Involve
You’ll first see technicians extract standing water with pumps, vacuums, and moisture meters to remove it from floors, walls, and hidden cavities.
Next, they clean and sanitize affected surfaces with targeted antimicrobial treatments to reduce contamination and protect materials.
They also control odors and mold risk with drying, filtration, and ongoing monitoring so your property stays stable and safe.
Water Extraction Steps
Water extraction after a burst pipe usually starts with a rapid assessment to locate standing water, saturated materials, and any electrical or structural hazards.
You’ll see professionals map the affected zones, isolate utilities when needed, and choose the right extraction method for each surface. Their goal is to remove bulk water quickly, reduce migration into cavities, and protect materials you can still save.
- Pump out deep pooling water
- Use weighted extractors on carpets
- Apply wand extraction on hard floors
- Pull moisture from padding and seams
- Verify results with moisture meters
After extraction, they document readings, confirm no hidden pockets remain, and keep you informed so you know your space is moving toward recovery.
Sanitizing Damaged Surfaces
Once standing water is removed, professionals shift to cleaning and sanitizing the damaged surfaces to limit contamination and stop odors from developing.
You’ll see them sort materials by porosity, because drywall, wood, and concrete each need different treatment. They wash hard surfaces with detergent, then apply EPA-registered sanitizers at the correct dilution and dwell time to reduce bacteria and residue.
Heavily soaked items may need controlled disposal, while salvageable materials get wiped, rinsed, and checked for hidden debris. Technicians also clean baseboards, framing, and subfloor edges where dirty water can linger.
Throughout the process, they document conditions and verify that the surfaces are no longer visibly contaminated. This careful work helps your property feel safe, clean, and ready for the next restoration step.
Odor And Mold Control
After sanitation, technicians target odor sources and mold growth before they can spread. You’ll usually see HEPA filtration, antimicrobial treatment, and controlled drying working together to stabilize the area.
Crews inspect hidden cavities, remove porous materials that can’t be safely restored, and treat remaining surfaces to reduce microbial activity. They also neutralize lingering smells at the source instead of masking them, which helps your home feel safe again.
- HEPA air scrubbing
- Antimicrobial surface treatment
- Moisture mapping
- Porous material removal
- Deodorization and final verification
This process protects your property and helps you reenter a cleaner, healthier space with confidence.
When the work’s done correctly, you can trust that the affected area is being returned to normal, and you’re not facing the problem alone.
How Pros Find Hidden Moisture
Professionals don’t rely on visible puddles alone, because hidden moisture often spreads behind walls, under flooring, and inside insulation after a burst pipe.
You’ll see trained technicians map the wet area with moisture meters, infrared cameras, and hygrometers to pinpoint where water’s trapped. They check baseboards, wall cavities, subfloors, and ceiling voids, then compare readings to dry reference points so you know the full scope.
This process helps your crew target affected materials without guesswork. You’re kept informed as they document readings and mark problem zones, which builds trust and keeps everyone aligned.
How Restoration Repairs Pipe Damage
After water removal, you’ll get a detailed pipe damage assessment to identify cracks, joint failure, corrosion, and compromised surrounding materials.
Restorers then apply structural repair methods that may include pipe replacement, sealing, and targeted reconstruction to restore integrity.
They’ll also add leak prevention steps, such as pressure testing and connection checks, to reduce the chance of another failure.
Pipe Damage Assessment
A thorough pipe damage assessment identifies the full extent of the failure so restoration can begin without delay.
You get a focused inspection that pinpoints where water escaped, how far it spread, and whether hidden corrosion or joint stress is present. Your restoration team documents pressure loss, material condition, and surrounding moisture so nothing gets missed.
This step helps you feel informed and included while decisions stay based on evidence, not guesswork.
- Locate the break source
- Map visible and hidden leakage
- Measure moisture around affected areas
- Check pipe material and wear
- Record findings for restoration planning
With clear diagnostics, you can trust the cleanup path ahead and move toward safe recovery confidently.
Structural Repair Methods
Once the damage assessment is complete, your restoration team can begin structural repairs that stabilize the affected area and stop further deterioration.
They’ll remove compromised drywall, insulation, trim, and subflooring, then expose hidden framing so they can verify what’s still sound. If joists, studs, or sheathing have warped or delaminated, they’ll reinforce or replace those members to restore load-bearing strength.
They may also install new backing, patch openings, and seal joints to bring the assembly back to proper alignment. When necessary, they’ll coordinate with licensed trades to repair plumbing penetrations and electrical chases safely.
Throughout the process, you stay informed, protected, and supported, because a well-executed repair doesn’t just rebuild surfaces—it helps your property regain stability, integrity, and a clean, livable finish.
Leak Prevention Steps
With the structural repairs in place, your restoration team can focus on stopping repeat water damage at the source. You’ll get targeted leak prevention that protects your home and keeps your space in trusted hands.
Technicians test pipe joints, replace weakened sections, and reseal fittings with code-compliant materials. They also calibrate pressure to reduce stress on repaired lines and verify drainage paths for safe flow.
- Inspect for hidden corrosion
- Tighten or replace fittings
- Add insulation to vulnerable lines
- Pressure-test repaired pipe runs
- Document risks for future monitoring
These steps help you return to a stable, reliable plumbing system. You’re not just fixing damage; you’re reinforcing the network your household depends on.
Frequently Asked Questions
Does Homeowners Insurance Usually Cover Burst Pipe Water Removal?
Usually, yes, you’re covered if the burst was sudden and accidental. You’ll still need to review your policy, report the loss quickly, and document damage so you can claim cleanup costs.
How Long Does Professional Water Removal Usually Take?
You’ll usually see water removal finish in 1-3 days, and that’s often when you need it most. Technicians extract water fast, monitor moisture precisely, and help you feel confident your home’s recovery stays on track.
Can Burst Pipe Water Damage Cause Mold Later?
Yes, burst pipe water damage can cause mold later if you don’t dry everything quickly. You’ll reduce risk with prompt extraction, dehumidification, and antimicrobial treatment, so your property stays safe and your team feels supported.
Is It Safe to Stay in the Home During Cleanup?
Usually, yes, if technicians isolate affected areas; but you shouldn’t stay if you smell mold, see electrical hazards, or lack heat. Better safe than sorry—you’ll belong better once the space is dry, tested, and secure.
What Should I Ask Before Hiring a Restoration Company?
Ask about their licensing, insurance, drying equipment, response time, mold prevention, pricing, and guarantee. You’ll feel more confident when they explain their process clearly and show they’ve handled water damage safely before.
Summary
You’ve done the hard part by acting fast, but the real threat may still be hiding. Once the visible water is gone, professionals keep tracing moisture in walls, floors, and cavities before damage spreads. They dry, sanitize, and monitor each area with precision, then repair the pipe source so the problem doesn’t return. If you stay alert and let experts finish the job, you’ll stop one burst pipe from becoming the next, costlier emergency.