

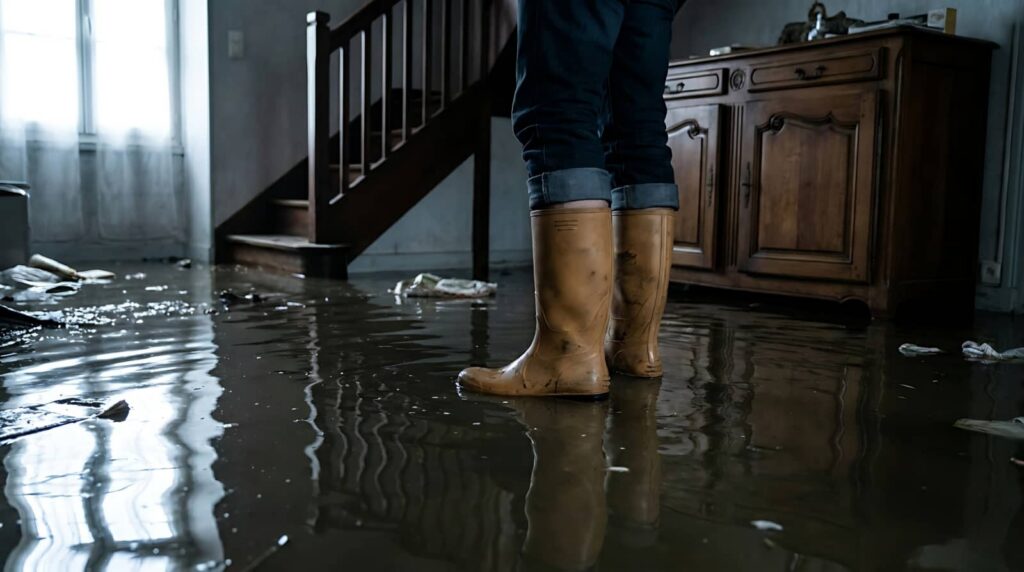
Water pools across your floorboards, wicks up drywall, and turns a home’s structure into a hidden hazard. In the first 24 hours, you need to cut power, remove standing water, and document every affected area before damage spreads. Professional Flood Damage Restoration helps ensure your property is properly dried, inspected, disinfected, and restored using the right equipment and methods. The repair stage matters just as much, because what you replace now can determine how well your home holds up next time.
Key Takeaways
- Shut off electricity and gas if safe, then document damage and move people, pets, and valuables to a dry area.
- Remove standing water with pumps or wet vacuums, keeping discharge away from the structure and working room by room.
- Wear protective gear, discard saturated porous materials, and inspect for structural, electrical, and hidden mold damage.
- Dry affected areas quickly with fans and dehumidifiers, then clean and disinfect hard surfaces to prevent mold within 24–48 hours.
- Repair damaged drywall, subflooring, and wiring, and improve drainage, sump pumps, and flood barriers to prevent future flooding.
What to Do in the First 24 Hours
During the first 24 hours after flooding, you need to act fast to limit further damage and start safe recovery. First, shut off electricity and gas if you can reach the controls without entering standing water.
Then, document the affected areas with photos for your records and insurance claim. Move people, pets, and undamaged items to a dry, secure space.
Open windows and run fans only when power is safe, so you can reduce humidity. If water came from sewage or rising outdoor floodwater, wear gloves, boots, and a respirator.
Contact a qualified flood damage restoration provider quickly so your team can assess moisture, structural risk, and contamination.
You’re not handling this alone; coordinated action now protects your home and supports faster recovery.
Flood Damage Cleanup Step by Step
Once the site is safe, start flood damage cleanup by removing standing water with pumps, wet vacuums, or extraction tools. Then pull out saturated carpets, padding, and any materials that can’t be dried effectively. You’ll move faster when you work room by room and document what you remove for your restoration records.
Separate salvageable items from contaminated debris so your team can stay organized and focused.
- Bag porous waste immediately.
- Stack clean items in a dry zone.
- Label contents by room.
- Keep pathways clear for equipment.
Wipe mud from hard surfaces, then wash them with appropriate cleaners. Remove baseboards if moisture is trapped behind them.
Check hidden cavities, under cabinets, and behind furniture for residue. This method helps you protect your space, reduce losses, and stay aligned with the rest of your restoration crew.
Remove Standing Water Safely
Before you remove standing water, shut off power to the affected area at the main breaker if you can do so safely.
Then pump out the water with a submersible or utility pump suited to the depth and volume, and keep the discharge line directed away from the structure.
Stay clear of outlets, cords, and submerged appliances, because hidden electrical hazards can remain live even after the water starts to recede.
Power Shutdown First
Shut off the power to the flooded area before you enter, because standing water can hide live electrical hazards. You protect yourself and your team by treating every wet surface as energized until you verify otherwise.
If you can reach the main breaker from a dry location, switch it off; if not, call your utility or a licensed electrician. Keep everyone out until the circuit is confirmed safe.
- Wear insulated boots and gloves.
- Use a noncontact tester on dry points only.
- Never touch cords, outlets, or panels in water.
- Mark the area so no one reenters.
This step prevents shock, arc faults, and equipment damage.
When you handle flood cleanup together, you make the site safer and restore control faster.
Pump Out Water
After you confirm the area is safe, pump out standing water as quickly as you can to limit structural damage and contamination.
Use a submersible pump for deep flooding and a utility pump or wet vac for shallow water. Position the discharge hose outside and away from the foundation so runoff won’t flow back in.
Work from the lowest point first, then move methodically through each section to keep levels even and reduce stress on walls and flooring. Remove debris from intake screens often so flow stays steady.
If the water is muddy, empty the sump in stages to avoid stirring sediment. Wear gloves, boots, and eye protection, and keep children and pets out.
Your crew’s speed and coordination here help protect the space you’re restoring together.
Avoid Electrical Hazards
Once pumping starts, treat every wet area as an electrical hazard and keep yourself clear of energized components. You should shut off power at the main breaker if you can reach it without crossing water. If you can’t, call your utility or a licensed electrician right away.
Wear insulated boots and gloves, and use a flashlight, not cords or plugged-in lamps.
- Test outlets only after a pro clears them.
- Keep extension cords out of standing water.
- Replace any device that was submerged.
- Mark wet rooms so helpers stay out.
You’re not alone in this step; careful shutdown protects your crew and speeds safe cleanup.
After utilities confirm isolation, you can remove standing water, then dry surfaces and inspect for hidden damage before repairs begin.
Inspect Flood Damage to Your Home
Before you begin cleanup, inspect your home for visible water intrusion, structural damage, and signs of contamination so you can plan repairs safely and in the right order.
Walk the exterior first, then move room by room with a flashlight and notebook. Check walls, ceilings, baseboards, trim, and floors for staining, swelling, cracking, or separation. Look for sagging, buckling, or shifted framing that suggests hidden damage.
Note musty odors, mud lines, and debris that point to contaminated floodwater. Photograph each area before you touch anything; clear records help you and your restoration team make informed decisions together.
Mark affected rooms, measure waterlines, and list materials that may need professional evaluation. If damage looks extensive, pause and bring in qualified help so your home can recover with less risk and more confidence.
Dry Walls, Floors, and Belongings
You should dry walls with high-velocity fans and dehumidifiers, and remove baseboards or drill small vent holes if trapped moisture remains.
Clean and dry floors immediately, since standing water can wick into subfloors and framing.
Sort wet belongings fast, and salvage only items you can clean, disinfect, and fully dry before mold starts.
Wall Drying Methods
Drying walls, floors, and belongings starts with fast moisture removal and steady airflow. You should open wall cavities where needed, then place air movers to push dry air across damp surfaces and stop hidden moisture from lingering.
Use dehumidifiers to pull vapor from the room, and monitor humidity so you can adjust equipment quickly. Check baseboards, trim, and insulation for trapped water, because these areas slow drying and invite damage.
- Remove standing water first
- Direct airflow along wall surfaces
- Dehumidify the entire room
- Measure moisture until readings drop
You’ll get better results when you keep the space closed, maintain consistent equipment placement, and document progress. That helps you work with your restoration team and keep your home moving toward a safe, dry finish.
Salvaging Wet Belongings
Start salvaging wet belongings as soon as the area is safe by sorting items into keep, clean, dry, and discard groups.
Move dry items to a clean room with stable airflow and raise them off wet floors.
Wash hard, nonporous surfaces with detergent and disinfectant, then rinse and air-dry.
For fabrics, launder quickly in hot water if the care label allows; otherwise, bag them for professional cleaning.
Freeze papers, photos, and books if you can’t dry them within 24 hours, then separate pages and use fans.
Dispose of swollen particleboard, moldy insulation, and items with sewage exposure.
Label each recovered item so your household can track what’s left and what still needs care.
Stop Mold Before It Spreads
Mold can begin growing within 24 to 48 hours after floodwater exposure, so quick action is critical to stop it from spreading. You need to lower moisture fast and keep indoor humidity under 60%. Open windows if weather allows, run dehumidifiers, and move air with fans aimed across surfaces, not directly into contaminated zones. Wear gloves, goggles, and an N95 respirator when you work.
- Remove soaked porous items promptly.
- Discard damp insulation and cardboard.
- Clean hard surfaces with detergent and water.
- Bag debris before carrying it out.
Check hidden spaces, such as closets, baseboards, and under sinks, because mold often starts there. If you smell musty odors or see fuzz, act right away so your home stays safer and your crew stays coordinated.
Repair Drywall, Flooring, and Wiring
Once the structure is dry and clean, you can begin repairing drywall, flooring, and wiring in the affected areas.
Remove any drywall that’s swollen, crumbled, or stained above the waterline, then cut new panels to fit and secure them to sound framing.
Replace warped subflooring, buckled laminate, or soaked carpet padding; if hardwood can be saved, dry it slowly and refasten loose boards.
For wiring, shut off power at the panel, inspect outlets, switches, and junction boxes, and call a licensed electrician for any damaged circuits.
You’ll restore your space faster when you match materials carefully and keep repairs square, level, and code-compliant.
Work methodically, and you’ll rebuild a safer home that feels like yours again.
Clean and Disinfect Surfaces
With the damaged materials removed, you can clean and disinfect every exposed surface to reduce contamination and prevent lingering odors.
Begin by washing walls, framing, floors, and fixed surfaces with a detergent solution to lift silt, grease, and residue. Then apply an EPA-registered disinfectant at the correct dilution and contact time.
Wear gloves, eye protection, and a respirator when labels require it. Keep your team aligned by working room by room and marking cleaned areas.
Focus on:
- Hard-to-reach corners
- Baseboards and trim
- Cabinets and shelves
- Door handles and fixtures
Rinse surfaces when the product label says to, then dry them thoroughly with fans and dehumidifiers.
Check for missed spots, because clean, dry surfaces help everyone move forward with confidence.
Restore Your Home and Prevent Future Flooding
After the structure is dry and sanitized, you can begin restoring finishes, systems, and fixtures to bring the home back to safe, usable condition.
Replace damaged drywall, insulation, flooring, and trim with materials rated for moisture resistance where possible.
Reinstall electrical, plumbing, HVAC, and appliances only after licensed inspection confirms they’re safe.
Seal wall penetrations, repaint with mildew-resistant coatings, and verify proper ventilation in bathrooms, kitchens, and crawl spaces.
To reduce future flooding, extend downspouts, grade soil away from the foundation, clean gutters, and test sump pumps and backflow valves.
If your area floods often, install flood vents, watertight doors, or wall barriers.
Keep your family informed, document improvements, and build a shared emergency plan so everyone feels prepared and connected.
Frequently Asked Questions
How Do I Document Flood Damage for Insurance Claims?
You should photograph every damaged area, list affected items, save receipts, note dates, and record water lines. Then file a detailed inventory, contact your insurer quickly, and keep copies of all communications for your claim.
When Should I Call a Professional Restoration Company?
You should call a professional restoration company when water’s soaked walls, floors, or insulation, when sewage’s involved, or when mold’s possible. They’ll assess damage, dry materials fast, and help you avoid costly, unsafe hidden problems.
What Items Can Be Safely Salvaged After Flooding?
You can usually salvage hard, nonporous items like metal, glass, solid wood, and sealed plastics if you clean and dry them quickly. Discard soaked drywall, insulation, mattresses, and contaminated food, upholstery, or electronics.
How Long Does Flood Damage Restoration Usually Take?
Usually, you’ll need 3 days to several weeks—time flies, but water doesn’t. You’ll dry, clean, disinfect, and repair based on damage severity, material type, and insurance approvals. Fast action helps you rejoin home life sooner.
Do I Need Permits for Major Flood Repairs?
Yes, you usually need permits for major flood repairs, especially structural, electrical, plumbing, or HVAC work. You’ll need to check local codes, submit plans, and get approvals before you start rebuilding.
Conclusion
By acting fast, you can turn a flooded house from a hazard into a project with a finish line. You’ll shut off power, clear the water, and dry every surface before mold gets a foothold. Then you’ll repair damaged walls, floors, and wiring with care. The next storm may still come, but your home won’t be caught unprepared—you’ll have restored it, strengthened it, and made it ready for what’s next.