

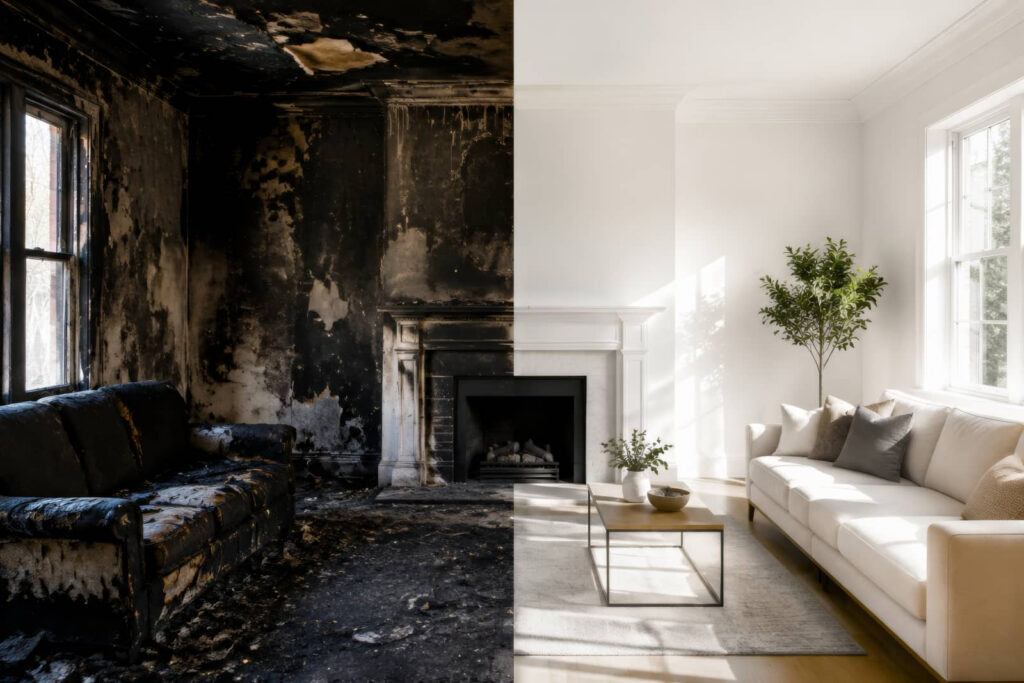
A burst pipe under your kitchen sink can soak cabinets, drywall, and flooring in minutes, but How Long Does Burst Pipe Cleanup Take depends on how far the water has spread and how quickly drying begins. You’ll usually move faster when you shut off the water, remove standing water, and start drying right away. The real delay comes when water spreads behind walls, reaches insulation, or becomes trapped in materials, and that’s when cleanup can take much longer.
Key Takeaways
- Burst pipe cleanup usually takes a few hours to several days, depending on the amount of water and damage.
- Light leaks may dry and be cleaned within 24 to 48 hours if action is taken quickly.
- Saturated carpets, warped wood, and hidden moisture can extend cleanup time significantly.
- Immediate shutoff, water extraction, and drying help shorten the cleanup process.
- Cleanup is finished when moisture levels are safe, odors are gone, and all damaged materials are removed.
How Long Does Burst Pipe Cleanup Take?
How long does burst pipe cleanup take? Usually, you can expect it to take from a few hours to several days.
If you act fast, your team can stop the water, remove standing moisture, and start drying the affected space the same day. Light damage with quick access often wraps up in 24 to 48 hours.
More saturated areas need longer extraction, targeted drying, and repeated checks to reach safe moisture levels.
When you ask how long does burst pipe cleanup take, the answer depends on the amount of water, the materials involved, and how quickly you begin.
Stay in close contact with your crew so you know each step, each milestone, and when your space is ready again.
What Delays Burst Pipe Cleanup?
Cleanup slows down when water spreads beyond the obvious damage. If it reaches drywall cavities, subflooring, insulation, or framing, you’ll need more drying time and deeper inspection.
Hidden moisture trapped behind walls or under floors can keep materials wet long after the surface looks dry. The job also takes longer when contamination is present, because you may need extra cleaning, sanitizing, and disposal steps.
Saturated carpet, warped wood, and damaged insulation each add labor. Access matters too: cramped closets, finished basements, and tight crawl spaces make setup slower.
Humidity, cool temperatures, and poor airflow can extend drying cycles. Large leaks or multiple affected rooms increase equipment needs and monitoring.
The more areas you trust to stay dry, the more likely you’ll finish faster together.
What to Do in the First 24 Hours
In the first 24 hours after a burst pipe, your main goal is to stop the water, limit spread, and start drying immediately. Shut off the main supply, kill power to wet areas if needed, and move people and valuables out of harm’s way.
Then document damage with photos for your records and your insurer. Open doors and windows if weather allows, and use fans or dehumidifiers to keep air moving.
Lift rugs, remove soaked fabrics, and separate wet items so they don’t trap moisture against floors or walls. Check hidden spaces like closets and under sinks for active seepage.
Stay organized, stay safe, and act fast; your team effort now can reduce cleanup time, limit repairs, and help you get back to normal sooner.
How Is Water Damage Cleanup Done?
Water damage cleanup usually starts with extraction, then drying, then sanitizing and repairs.
You’ll see a crew map affected areas, remove standing water with pumps or vacuums, and pull up damp materials that can’t be saved.
Next, they place air movers, dehumidifiers, and moisture meters to target hidden wet spots in walls, flooring, and framing.
They also clean and disinfect surfaces to reduce odor, microbes, and residue.
You stay in the loop by approving scope, protecting valuables, and keeping access clear for equipment.
Technicians then check moisture readings until materials meet safe targets, so your space can move back toward normal.
When drying is complete, they replace damaged sections, test systems, and document the work so you know what was restored.
When Do Drying and Repairs Take Longer?
Drying and repairs take longer when water has soaked into porous materials, spread into hidden cavities, or reached drywall, insulation, subfloors, and framing.
You’ll also wait longer if the leak ran for hours, the room has poor airflow, or humidity stays high. Thick finishes, layered flooring, and sealed wall assemblies trap moisture and slow extraction.
If the pipe burst in a kitchen, bath, or basement, access can be tight, so crews work more carefully and move equipment more often.
If you live in a colder space, evaporation slows too. You can expect added time when materials must be removed, dried, then rebuilt in sequence.
That’s normal, and it doesn’t mean the crew’s behind. It means they’re protecting your home and helping your space get back to steady condition.
How Do You Know Cleanup Is Finished?
You know cleanup is finished when moisture readings have returned to safe levels, damaged materials have been removed or fully dried, and the affected area no longer shows signs of lingering water or odor. At that point, you can trust the space has met basic drying goals and is ready for inspection or routine use again.
- Meter readings match dry standards
- Surfaces feel dry to the touch
- No musty smell remains
- No visible staining or swelling persists
- Removed materials are accounted for
You should also confirm that joints, trim, and hidden cavities show no dampness.
When these checks stay stable over time, you’re likely done. A final walkthrough helps you and your team feel confident the cleanup is complete and the room’s back on track.
How to Speed Up Burst Pipe Cleanup
You can speed up burst pipe cleanup by shutting off the water supply immediately to stop further damage.
Next, remove standing water with pumps, wet vacs, or mops as soon as possible.
Then dry affected areas with dehumidifiers and air movers to reduce moisture and limit secondary damage.
Shut Off Water Fast
Shutting off the water immediately is the fastest way to limit damage and shorten burst pipe cleanup time. You should locate the main shutoff valve now, not later, because every extra minute can spread moisture through walls and flooring.
If you live with others, tell them right away so everyone knows the water’s off and the area stays controlled. Fast action helps your crew work as a team and keeps the job moving.
- Find the main valve before an emergency
- Turn it clockwise until it stops
- Open a faucet to release pressure
- Label the shutoff for easy access
- Keep the valve area clear
When you act fast, you protect your space and help cleanup start on the right track.
Remove Standing Water
Once the water’s off, remove standing water as quickly as possible to speed up burst pipe cleanup.
Use a wet/dry vacuum for small pools, and pump out deeper water with a submersible unit. Work from the lowest point and guide water to one exit path so you don’t spread contamination.
If the leak reached carpet or padding, lift edges and extract water beneath them, too. In hard floors, squeegee toward drains or a bucket, then check closets, cabinets, and wall bases for trapped water.
Wear gloves and slip-resistant shoes, and keep circuits off in wet zones. The faster you clear liquid water, the sooner you can assess damage and move your team into the next restoration step.
Stay methodical, document what you remove, and follow safe disposal practices.
Dry Affected Areas
Dry the affected areas immediately to keep burst pipe cleanup moving and prevent secondary damage. You should run dehumidifiers, air movers, and open pathways so moisture leaves fast.
Focus on walls, baseboards, flooring, and hidden cavities, because trapped water can extend drying time and invite mold. If you work with a restoration team, you’ll move faster with shared equipment and clear monitoring.
- Position air movers at wet surfaces
- Set dehumidifiers in closed rooms
- Remove wet rugs, pads, and textiles
- Check moisture with meters daily
- Ventilate only when outside air helps
Drying usually takes hours to days, but deep saturation can take longer. When you act quickly and stay coordinated, you protect your space and help your crew finish cleanly.
Frequently Asked Questions
Can Burst Pipe Cleanup Happen During Heavy Rain?
Yes, you can start burst pipe cleanup during heavy rain, but you’ll need to control entry water first. You should secure the leak, extract standing water, dry affected areas, and monitor humidity for hidden moisture.
Does Insurance Approval Slow the Cleanup Process?
Yes, it can. If you wait for approval before starting, you’ll slow drying and repairs. You can usually begin emergency mitigation first, then document damage and submit claims while cleanup continues.
Are Walls Always Removed After a Pipe Burst?
No, you don’t always remove walls after a burst pipe. You’ll only open them if moisture hides inside, drying won’t work, or mold risks rise. Technicians inspect, then choose the least invasive repair path.
Can Mold Start Before Cleanup Is Complete?
Absolutely—mold can start before you finish cleanup, sometimes within 24–48 hours. You should dry materials fast, remove wet contents, and ventilate the area. Acting quickly helps you protect your home and your people.
Will Cleanup Take Longer in Winter Weather?
Yes, cleanup often takes longer in winter because you’re battling colder temps, frozen materials, slower drying, and limited ventilation. You’ll need more drying time, so crews usually monitor moisture closely before restoration.
Conclusion
Burst pipe cleanup usually takes a few hours to several days, but quick action matters most. If you start within the first 24 hours, you can often limit drying to 24 to 48 hours for lighter damage. One useful statistic: mold can begin growing in as little as 24 to 48 hours after water exposure. So shut off the water, remove standing water, and dry the area fast to cut delays and repair costs.